Okay, not really destruction, but selective removal of wooden components for use in the future. I missed updating last week, so the pictures below will show two weeks worth of work.
On a side note, we picked up a new tool that it bonkers fun to use! I wish we had bought this way back at the beginning! The Air Locker AP700 is the best tool I’ve found to remove nails! It has an air actuated piston that punches the nail back out of the wood. On thin lumber, it will shoot the nail out of the wood, across the room, bounce off the wall, and come back to hit you in the chest. Don’t ask me how I found this out. Oh, and make sure you’re not aiming the board towards your feet or… crouch area. We’ll chalk these up to OTJ training. On thicker lumber (2x), it will punch a driven nail out so you can grab it with the crowbar. All you need is a little bit of the nail sticking out of the bottom so you can aim and pull the trigger. Anyone planning on recycling lumber, I highly recommend you get this little guy. We picked ours up off Amazon for under $60.
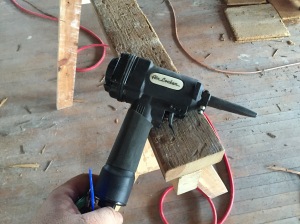
AirLocker – Get yours TODAY!
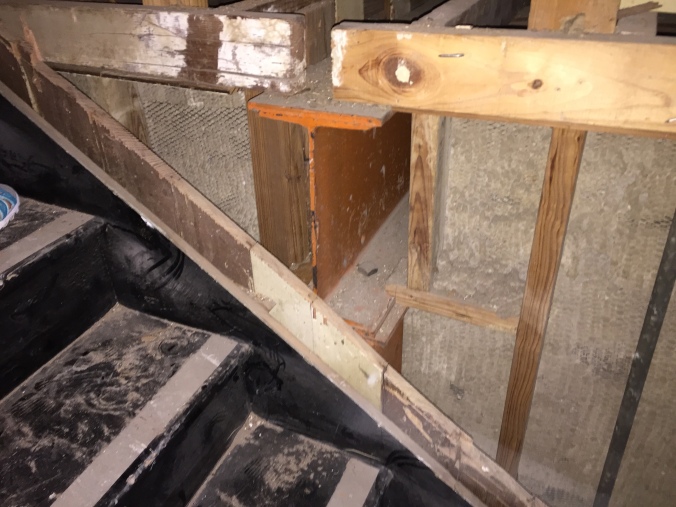
I started where we left off with the porch ceiling/floor. I still can’t believe this structure was/is still standing with the original rafters/joists in place. The best I can guess is these have to be over 100 years old. All the ends where they connect into the wall are heavily rotted and only being held in place by luck. The hard part here is working over an existing shop that is in operation. As you can see, our renters, Mr. & Mrs. Kulow operate two business below. On is Mr. Kulows wood working office and the other is Mrs. Kulow Chiropractic office. Trying very hard not to drop anything on their heads!
A special thanks to the Tavary family for all their help! Once again, they have been more than helpful in this project. We never could have gotten this far with out their help!
By the end of these last two weeks, I would say we’ve removed 2/3rds of the apartment flooring and 2/3rds of the old ceiling/flooring structure.
Under the front room flooring, we’ve had some good news and some bad news. Good news is that “sometime” in the past (guessing before 1930’s) structural steel columns & beams & a big 9×9 solid wood center beam were added to the flooring structure.
BEAMS
This has really beefed up the structure, to the point that (I believe) we will pass the structural review by the licensed engineer without having to add anything to the floor. Still waiting on that report. Based upon those findings, I put together a quick sketch (Floor Joist Details ) on how I thought I could finish out the ceiling below and the floor above. And now for the bad news (maybe, still researching). After running it by our Architect, she had to say the dreaded words “fire code”. She is doing the research, but believes that their can not be non-sprinkled voids between two different zones. So, we may have to rip the ceiling off of Mr. & Mrs. Kulows place and attach it directly to the floor joists. I broke the news to Mr. & Mrs. Kulow and they were quite happy to work with me on this. Currently they have a drop ceiling in place, and would be happy to have the extra 3 feet of vertical height and insulated structures to limit their HVAC bills! It actually could become quite a design feature with the structural steel beams showing.
That’s all the news that’s fit to print. Here’s some pictures for your viewing pleasure:


From existing to missing!


Slowly this floor is coming up. We’ve finally learned how to remove it quickly without causing major damage. Would you believe the sledgehammer is the answer?
And for last, I leave you with cuteness overload!


